Ailerons Jan 3 2026
Aileron Part Riveting and Counterbalance Assembly
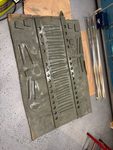
Now that the main components of both ailerons are prepped and primed, now time to work on assembly. The ailerons have a steel counter balance in the leading edge. Had to match drill 2x holes using the leading edge, take everything apart, and then match drill the 2x remaining holes that mate to the forward ribs. These holes then get upsized to a #27 hole to allow for screws to hold the counterbalance to the forward ribs. After working with aluminum for so long, i really despise drilling into steel. It's really the shavings that are the worst. The access to tighten these nuts onto the phillips head screws is also awful. Took probably 45 minutes to do all 8x screws, turning each nut 1/4 turn at a time. Had to use a phillips bit in a set of locking pliers, and a tiny 1/4 wrench to fasten the nuts down. Scotchbrited the top and bottom skins of the left aileron. On the right aileron i am planning on doing a custom aileron trim design that will have the aileron trim motor mounting in the aileron and cut a small section of the trailing edge to have a piano hinge that will keep the trailing edge line intact. It will not have the standard spring system that connects to the push rods in the main wing rib section, which deflects the main stick to the left or right when trim is active. More on that later.
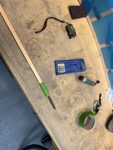
Have been scratching my head for the last few months on the last 4 pop rivets for the bottom of the transponder mount. Used this piece of the trailing edge wedge to help with pop riveting the bottom of the leading edge of the flaps together near the mounting bracket. Is a super tight clearance, but was able to get the last 4 rivets installed! Can check this off finally.
Author
This post is from Brendon's RV-10